a. Through WordPress Dashboard
- Go to the Appearance > Themes and click on Add New button.
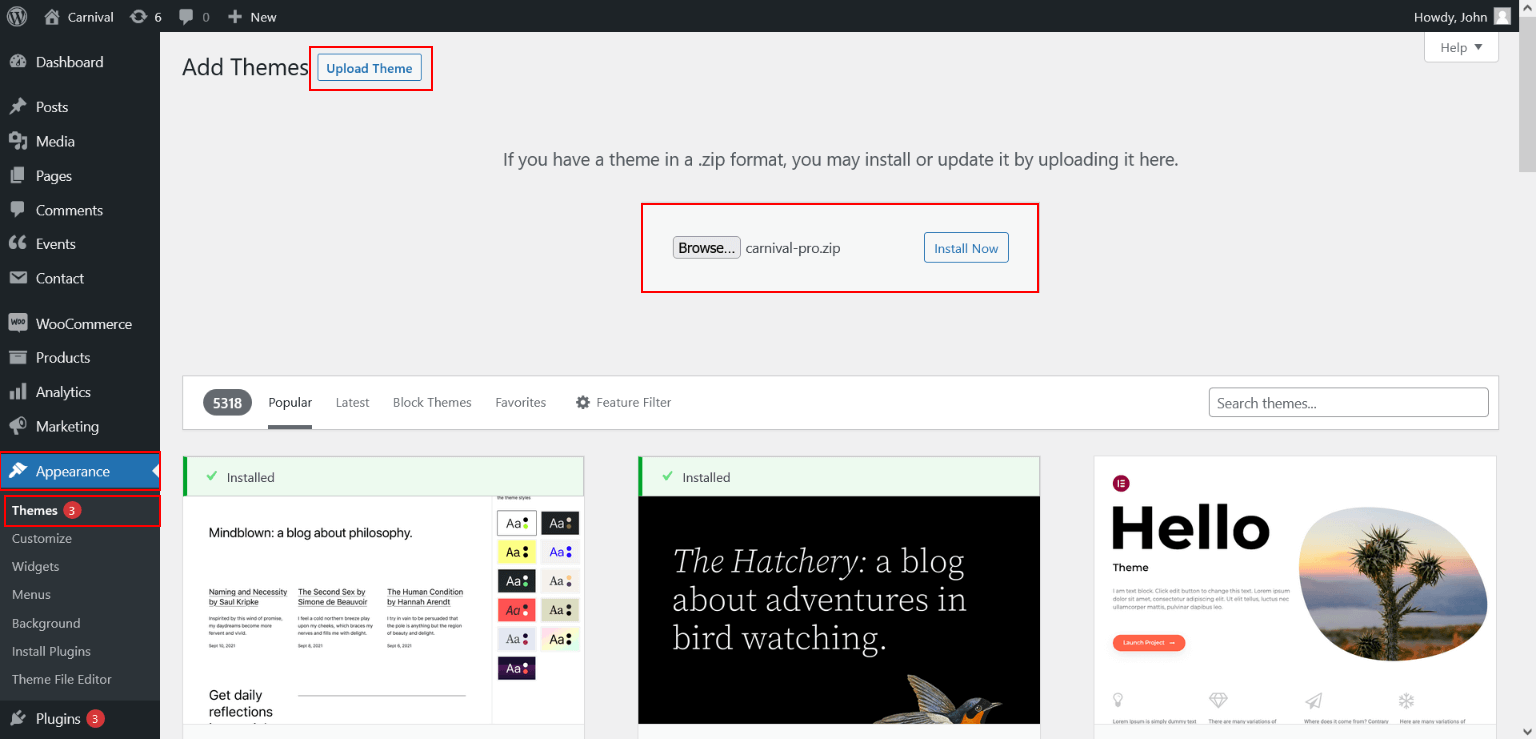
- Click on Upload Theme button.
- Click on Browse button and navigate to the unzipped theme package on your computer.
- Look for a file called spectral-pro.zip Click on it to select, then click OK.
- Click on Install Now button and wait until the installation is complete.
- Click on Activate link to activate the theme on your WordPress site.
Note: Some servers have limited folder access settings applied and wouldn’t allow uploading the theme trough the admin – in these case you have to upload the theme via FTP.
b. Manual Installation using FTP client
If you know the FTP login details of the server where your site is hosted and you have a FTP client installed (such as FileZilla), you might consider using this way of uploading your theme.
- Unzip the spectral-pro.zip file
- Using an FTP client to access your host web server. Go to /wp-content/themes
- Upload theme to /wp-content/themes/
- Go to Appearance > Themes and activate theme from Dashboard.
First you have to unzip the download file, find the zip file called spectral-pro.zip, unzip it and upload the folder to the main WordPress installation folder > wp-content > themes. Please note that if you prefer this way of installation, you have to make sure that the main files of the theme are contained just within one folder of the themes folder.
You can activate the theme after it is uploaded on the server. In order to activate this theme you have to go to the admin panel > Appearance > Themes. In this section you should see the theme with a title Spectral PRO. Just click on the Activate button and your theme should get activated.